Remember those long, sun-drenched summer afternoons of childhood? The kind where you’d race through the neighborhood on your bike, feeling the heat radiate from the pavement, only to burst through the door, sweaty and breathless, demanding a cool treat? For many, the answer to that craving was the humble, yet utterly magical, pudding pop. That creamy, dreamy burst of sweetness was the ultimate reward, a taste of pure summer joy. While store-bought versions were a rare and coveted luxury, today, creating that nostalgic delight is easier, more affordable, and infinitely more customizable than ever before, right in your own kitchen.
The Irresistible Charm of Homemade Pudding Pops
There's something uniquely satisfying about a homemade pudding pop. It’s not just a dessert; it’s a portal to cherished memories. The creamy texture, the refreshing chill, and that unmistakable flavor profile instantly transport you back to simpler times. While mass-produced versions once held a special place, making your own elevates the experience entirely. You gain control over ingredients, allowing for a fresher, more authentic taste and a smoother, richer texture that store-bought varieties simply can't match.
The beauty of these frozen treats lies in their simplicity. You don't need a culinary degree or a pantry full of obscure ingredients. With just a handful of staples and minimal effort, you can whip up a batch of these delightful pops. They're perfect for cooling down on a hot day, a light after-dinner indulgence, or even a fun project with the kids. Plus, making them at home means you can tailor every aspect to your liking, from the flavor combination to the sweetness level, ensuring every bite is exactly what you crave.
Crafting Your Perfect Pudding Pop: Beyond the Basics
At its core, the recipe for homemade pudding pops is wonderfully straightforward. You primarily need just two key ingredients: instant pudding mix and milk. But this basic framework is where the real fun begins, offering a canvas for endless creativity.
Endless Flavor Combinations
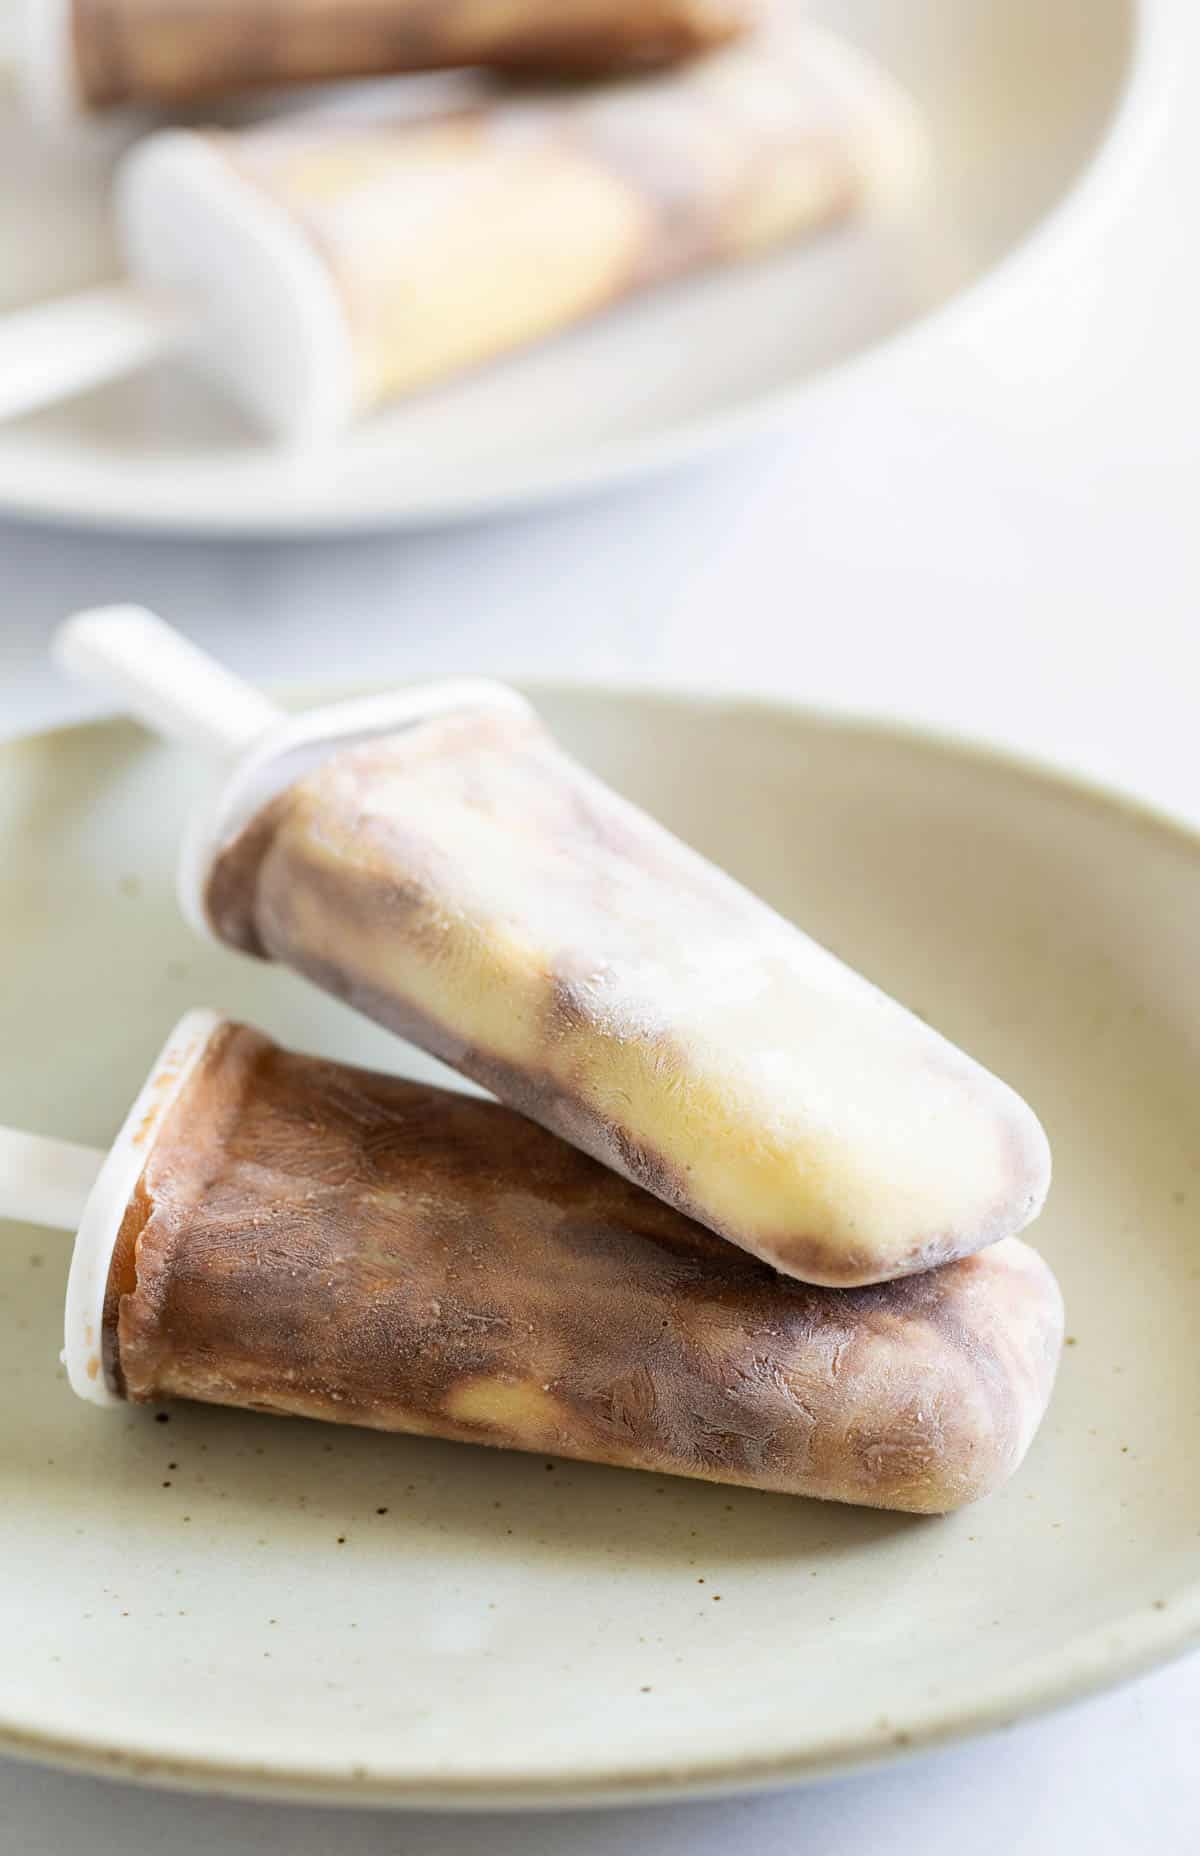
- Classic Swirl: The beloved chocolate and vanilla swirl remains a timeless favorite. The contrasting flavors and colors create a visually appealing and delicious experience. Achieve this by preparing both flavors separately and then alternating spoonfuls or using two piping bags to gently swirl them into your molds.
- Rich Chocolate: For true chocoholics, opt for a dark chocolate pudding mix. This delivers a more intense, sophisticated cocoa flavor that’s incredibly satisfying.
- Vanilla Bean Dream: Elevate simple vanilla by using a French vanilla or vanilla bean pudding mix for a more aromatic and nuanced flavor.
- Fruity Twists: Experiment with banana cream, pistachio, or even lemon pudding mixes for a different profile. You could also swirl in a spoonful of fruit puree (like blended raspberries or mango) for a natural burst of freshness.
- Seasonal Sensations: Consider pumpkin spice pudding for autumn or peppermint for the holidays!
Creative Add-Ins and Layers
To take your homemade pudding pops to the next level, don't hesitate to incorporate extra textures and flavors:
- Mini Chips: Stir in mini chocolate chips, white chocolate chips, or even butterscotch chips directly into the pudding mixture, or sprinkle them between layers in the mold.
- Crushed Cookies: Create layers with crushed Oreos, graham crackers, or shortbread cookies for a delightful crunch. Imagine a cookies & cream pudding pop!
- Sprinkles: A fun and colorful addition, especially for kids' parties.
- Extracts: A few drops of almond, mint, or coconut extract can dramatically change the flavor profile.
Weight Watchers (WW) Friendly Options
One of the significant advantages of making your own homemade pudding pops is the ability to easily adapt them for dietary needs, including Weight Watchers. These simple adjustments can transform them into a satisfying, low-point treat without sacrificing flavor:
- Milk Substitution: Instead of whole milk, use 2% milk, skim milk, or even unsweetened almond milk or oat milk. These alternatives significantly reduce the fat and calorie content.
- Sugar-Free Pudding: Opt for instant sugar-free pudding mixes, available in various flavors.
- Portion Control: Because they freeze in individual molds, pudding pops naturally help with portion control, making it easy to enjoy a controlled, guilt-free dessert.
Mastering the Art: Tips for Flawless Homemade Pudding Pops
Achieving that perfect creamy texture and beautiful swirl in your homemade pudding pops is simpler than you might think. A few insider tips can make all the difference.
Ingredient Selection & Preparation
- Quality Pudding Mix: While any instant pudding mix works, a good quality brand can enhance the flavor.
- Milk Matters: Whole milk will yield the creamiest, richest pops, but 2% or skim milk work well for lighter versions. For dairy-free options, unsweetened almond or oat milk can be used, though the texture might be slightly less creamy. Always follow the pudding mix's instructions regarding the amount of milk.
- Chill Your Milk: Using very cold milk can help the pudding set faster and achieve a smoother consistency.
Mixing Secrets for the Perfect Swirl
The "swirl" is what makes these pops so iconic, and it's easier to create than you might imagine:
- Avoid Over-Whisking: When mixing your pudding, whisk just until it begins to thicken. Over-whisking can make the pudding gummy or cause it to set too quickly, making it difficult to pipe smoothly. Aim for a consistency that is still pourable but starting to visibly thicken.
- Timely Transfer: Once mixed, don't wait too long to transfer the pudding to your molds or piping bags. If it sets fully, you won't be able to achieve that signature marble effect.
- Piping Bag Technique: For a clean swirl, prepare each flavor of pudding in a separate piping bag (or a sturdy zip-top bag with a corner snipped off). Pipe alternating layers or lines of each flavor into the mold. You can then gently swirl with a skewer or just let the natural layering create the marble effect as you fill. Alternatively, fill one piping bag with both mixtures side-by-side.
Freezing and Unmolding Success
- Insert Sticks Early: Once your molds are filled, insert the popsicle sticks while the pudding is still soft enough to hold them upright.
- Patience is Key: Allow at least 4-6 hours for the pops to freeze completely. Overnight is even better to ensure they are firm throughout and won't break when unmolding.
- Quick Warm Water Dip: When it's time to enjoy, avoid struggling! Dip the bottom of the mold in a shallow dish of warm water for just 10-15 seconds. This quick dip loosens the pop without melting the surface too much, ensuring a smooth release. Avoid holding it in warm water for too long, as this can make the pop too soft.
For more expert advice on achieving that perfect creamy swirl and troubleshooting common issues, make sure to check out Master Homemade Pudding Pops: Creamy Swirls & Pro Tips.
Beyond Sweetness: The Wellness Benefits of Homemade Pudding Pops
While often viewed as a simple treat, making your own homemade pudding pops offers surprising wellness advantages, particularly for those mindful of their diet or managing conditions like diabetes.
- Ultimate Ingredient Control: Unlike store-bought varieties that often contain artificial flavors, colors, and preservatives, making your own allows you to choose exactly what goes in. You can opt for natural food colorings, use organic milk, or select specific brands of pudding mix free from undesirable additives.
- Calorie and Sugar Management: As highlighted with the Weight Watchers options, you have complete control over the sugar and fat content. Using sugar-free pudding and lower-fat milk makes these an excellent choice for satisfying a sweet craving without derailing dietary goals. This level of customization is invaluable for anyone managing their intake.
- Built-in Portion Control: The individual mold format inherently promotes mindful eating. Each pop is a single serving, making it easy to enjoy a treat without overindulging. This contrasts sharply with larger desserts that can lead to unintentional overconsumption.
- Satisfying Cravings Healthily: Having a delicious, ready-to-eat frozen treat at hand can prevent you from reaching for less healthy alternatives when a sweet craving strikes. It’s a smart way to incorporate a satisfying dessert into a balanced lifestyle.
Serving Suggestions for Every Occasion
These versatile treats aren't just for hot afternoons. Serve homemade pudding pops straight from the freezer. They pair beautifully with fresh berries, a light drizzle of melted chocolate, or a sprinkle of toasted coconut flakes. Because of their individual portions, they are fantastic for:
- Backyard barbecues and pool parties
- Quick after-dinner desserts for the family
- Light snacks for kids (and adults!)
- A refreshing, low-point treat on a warm evening
To truly relive those cherished summer days with ease and discover even more inspiration, explore how to Homemade Pudding Pops: Recreate Childhood Memories Easily.
Conclusion
Homemade pudding pops offer a delightful blend of creamy texture, nostalgic flavor, and incredible ease of preparation. They are a testament to how simple ingredients can create something truly special. Whether you're chasing the taste of childhood, seeking a customizable dessert, or looking for a Weight Watchers-friendly option, these frozen treats tick all the boxes. With just a few ingredients and a little creativity, you can whip up a batch that will impress and delight. So, grab your molds, choose your favorite flavors, and get ready to enjoy the ultimate easy, customizable, and wonderfully refreshing treat!
